Recipe – How to make Slow Cooker King Cake

Hi,

A few days ago, I was looking for a slow cooker King Cake recipe and all I could find was Megan’s Crock Pot King Cake Fail. I knew that it is possible to bake yeast dough in a slow cooker because I made cinnamon pull-apart bread in it before, so I decided to ask the admin of the Slow Cooker Crock Pot Recipes Facebook Page if they had any idea how to tackle slow cooker King Cake. They never tried making it either, but suggested cooking it on low for 4 hours.

Slow Cooker King Cake

I used Jo’s Mardi Gras King Cake recipe and followed the instructions. It makes two King Cakes, which is why I only made half the recipe for the pastry, but not for the filling – I love lots of filling! I didn’t use Jo’s frosting and made maple frosting instead.

When I was done rolling and shaping my King Cake ring, I buttered the surface of my slow cooker to prevent the cake from sticking to it. Then, I carefully transferred the ring-shaped King Cake into the slow cooker and inserted a cylinder made of tin foil and covered with parchment paper into the middle of the ring. I put the lid on the slow cooker and waited for 10 minutes until I turned it on low.

KingCakepastry

I left my King Cake like that for 2.5 hours (on low). This was when I noticed the edges getting a little too brown and so I just turned the cake upside down and left it like that for one more hour (also on low).

KingCakeafterbaking

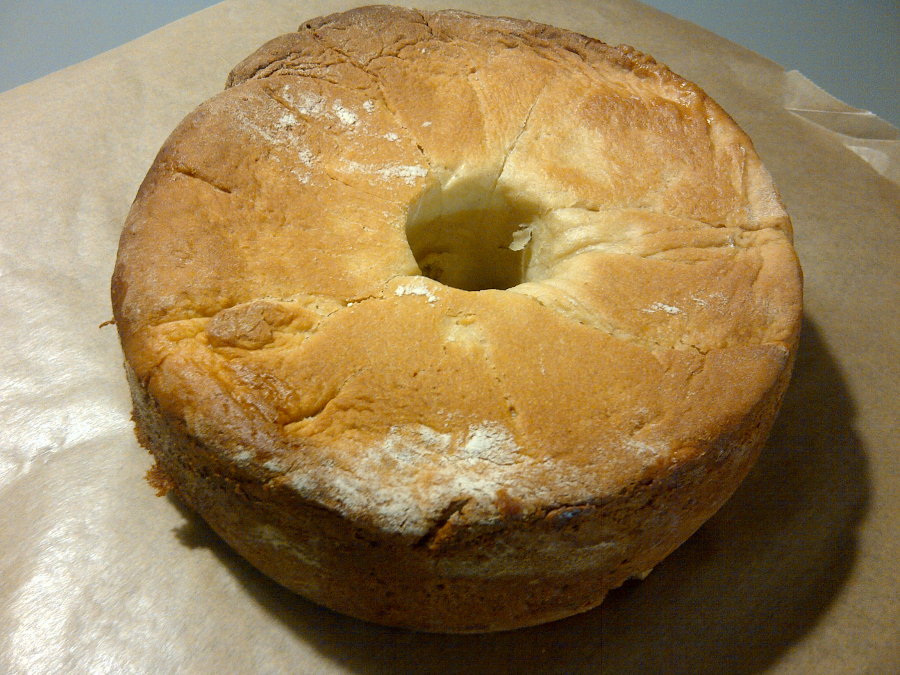
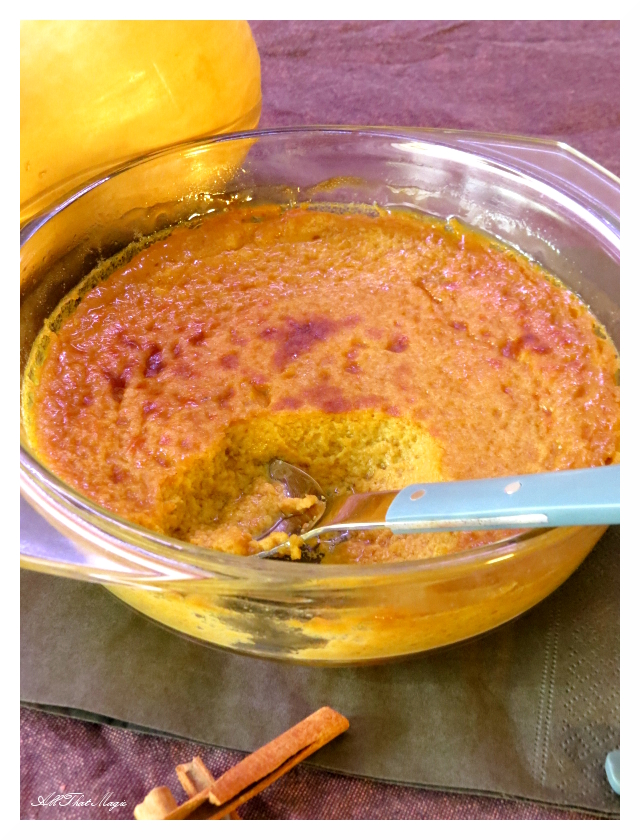
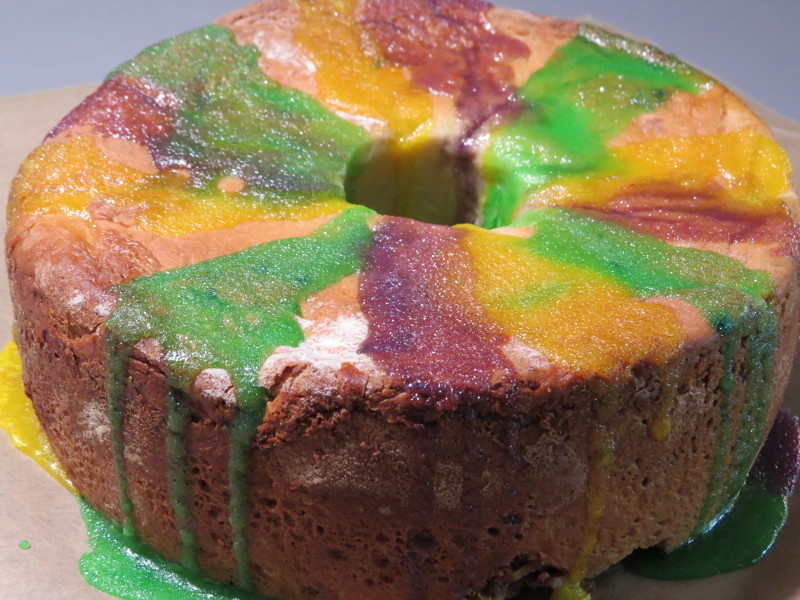
I removed the King Cake and put it on parchment paper. While it was cooling a little, I prepared the maple icing. You are supposed to use about 1 tbsp milk, 1 tbsp maple syrup and 1 1/8 cups of powdered sugar. I was almost out of powdered sugar, so I substituted that with granulated sugar and some more milk. I divided the icing into three parts and mixed it with food coloring. Then I drizzled it onto the King Cake.

Slow Cooker King CakeWhat would I change?

  1. I would use a bit less pastry, so the King Cake has more room to rise in the slow cooker.
  2. I wouldn’t double the filling, but use 1 and 1/2 times as much as the recipe calls for.
  3. The King Cake was fully cooked after 3.5 hours on low. I’d reduce the cooking time by half an hour, because I’m fairly confident that it was already cooked after 3 hours.

I hope all this is useful for you. Happy cooking/baking and happy Mardi Gras!

Recipe – No-Crust Pumpkin Pie

Hello,

Some of you might have noticed that there haven’t been that many blog posts in the past months. I’m writing hard on my thesis and won’t be able to update All That Magic as often as I’d like until I’m done with university. I’d be happy to flood you with my thoughts after graduation, because I haven’t stopped reading books ;). For now, I’ve got a seasonal recipe for you.

No-Crust Pumpkin Pie for Claudia

no crust pumpkin pieIt’s been three years since Claudia decided to share recipes for people with chewing and swallowing difficulties on her blog Geschmeidige Köstlichkeiten. Claudia thinks that having difficulties eating solid food doesn’t mean that you can’t eat varied and appealing meals. She is constantly trying and testing new recipes and even asks chefs for their contributions. For her third blogiversary, Claudia asked her readers and colleagues to think of something smooth and delicious for her to eat and I thought I’d make her some no-crust pumpkin pie.¹

Ingredients:
  • 5 tbsp granulated sugar
  • 1/2 tsp ground cinnamon
  • pinch ground ginger
  • pinch ground cloves
  • pinch salt
  • 1 egg
  • 250 g canned pumpkin puree (have a look at the baby food section in your supermarket if you can’t find canned pumpkin, or make pumpkin puree yourself)
  • 150 ml evaporated milk (G: Kondensmilch, ungezuckert)
Instructions:

No crust pumpkin pie

  1. Preheat oven to 180°C/350°F.
  2. Mix sugar, ground cinnamon, ground ginger,, ground cloves and salt in a bowl.
  3. Lightly whisk the egg in a small bowl.
  4. Add the egg to the sugar mixture and stir.
  5. Add the pumpkin puree and stir.
  6. Gradually add the evaporated milk and keep stirring until combined.
  7. Lightly grease a ceramic, or glass baking dish, or ramekins. Pour in pumpkin batter.
  8. Bake for 15 min on 180°C/350°F, then reduce the heat to 160°C/320°F and bake until a knife inserted near the center comes out clean and the no-crust pie jiggles slightly (in my case 20 more minutes, if you use ramekins the baking time will be shorter).
  9. Let the pie cool down to room temperature and, to get a better consistency, put it in the fridge overnight.
  10. Serve and enjoy!

Geschmeidige Koestlichkeiten


¹ I adapted Alice Medrich’s Pumpkin Pudding recipe.

Recipe – Homemade Frozen Yogurt

Hi,

It’s awfully hot here these days, so today I decided to make use of our overstock of yogurt to cool myself down a little. Of course, I could have taken another trip to the ice cream parlor, but I wanted to go for something low-calorie instead.

You need (serves 1 or 2 depending on their appetite 😉 )
  • a freezer
  • 2 freezer bags
  • about 250g (~8.5oz) plain yogurt (that’s the smallest unit you can buy over here)
  • optional: vanilla, sugar, fruit, cookies,…
How it’s done
  1. Put the yogurt into one of the freezer bags.
  2. If you want to, you can add some sugar, vanilla, fruit puree, cookie crumbs, or whatever else comes to your mind.
  3. Seal the bag and check if it’s really closed.
  4. If you added something to the yogurt, mix carefully kneading the bag with your hands.
  5. Put the bag with the yogurt into the second bag. (This is just to make sure nothing leaks). Seal the second bag.
  6. Find a safe place in the freezer and freeze for 1-2 hours. You should quickly knead your yogurt bag every 10-15 minutes to get a smooth texture. You have to be especially attentive once you notice the yogurt freezing. Things go fast from there.
  7. Your frozen yogurt is done when the whole bag contains a smooth frozen mixture.

Bon Appetite!

Frozen Yogurt
Plain and Chocolate Chip Cookie Frozen Yogurt with Chocolate Chip Cookie Topping


Recipe – Wiener Schnitzel

Hello everyone,

Are you hungry? If you are, I might have just the right thing for you. Today I’ve got a post for all the foodies among you. I proudly present:

How to make Wiener Schnitzel

Originally, you make Wiener Schnitzel from veal. You can also make them from pork, turkey, horse meat or chicken breasts. I really like Wiener Schnitzel made from chicken breasts. If you choose veal, buy butterflied top round steaks (also for pork and horse meat). For chicken and turkey schnitzel we use butterflied breasts.

As you will see, you’ll need flour, eggs, breadcrumbs and oil/lard. I’ll tell you how much you’ll probably need, but it’s always good to have more at home, in case you run out.

Ingredients for 4:
  • a minimum of 4 chicken breasts, or any of the above meats
  • approx. 3 cups of flour (Doesn’t really matter which one. Shouldn’t be self-raising though.)
  • 3 eggs
  • approx. 4-5 cups of breadcrumbs
  • Enough lard or oil to fry your schnitzel. It depends on how much you want to use. Do you want them to swim in fat, or do you just want them to sit comfortably in a 1-1.5 cm deep puddle of fat? 🙂
  • a pinch of salt
Instructions on How to Make Wiener Schnitzel:

Step 1: Softly pound your schnitzel on both sides. Don’t overdo it.

Step 2: Prepare three shallow bowls, e.g. soup bowls. Put the flour into the first one, the eggs into the second and the breadcrumbs into the third one. Add a pinch of salt to the eggs and whisk with a fork so the egg whites and the yolks are combined.

Step 3: Okay this is important. There are 3 little steps in this process and you can’t mix them up!

  1. Put the schnitzel into the bowl with the flour and evenly cover it with flour. There shouldn’t be any gaps.
  2. Now put the schnitzel into the bowl with the eggs and evenly cover it with eggs. Again: no gaps. (If there is excess egg on the schnitzel, just let it drip back into the bowl)
  3. The third step is to quickly put the schnitzel into the bowl with the breadcrumbs and cover it all over.

Repeat this process with all your schnitzel. When they are breaded, they are safe to lay aside on a dry and clean chopping board, or plate.

Step 4: When you’re done with all of them, heat the lard or oil in a large frying pan. When it’s hot, you can fry your schnitzel on both sides until they are golden brown.

Schnitzel

You can serve Wiener Schnitzel with parsley potatoes (cooked potatoes with butter and chopped, fresh parsley).

If you have any more questions, feel free to ask!

Bon Appetit!

Enhanced by Zemanta

Recipe – Cocoa – Almond Brownies

It’s Thursday already. This week went by fast. 🙂

And this week, I really had a craving for chocolate brownies. While I was looking for a decent recipe on the Internet, I found an article by the Huffington Post that told me that there’s only one recipe I’d need and that I’d find it over at the Smitten Kitchen. I thought “Well, this isn’t the first time I’ve heard of the Smitten Kitchen, I’ll give it a try.” Interestingly, the recipe does not contain chocolate. The brownie is made with cocoa powder. And the recipe comes with an explanation as to why this is a good thing (for all the people who have never thought of what chocolate consists of 😉 ). So I was easily convinced not to use my expensive 85% chocolate for baking (okay, at least not all of it) and try the recipe instead.

I did alter the ingredients a little bit. Here’s what I used:

  • 10 tablespoons butter
  • 1 cup sugar
  • 1 cup cocoa powder
  • 1/4 teaspoon salt
  • 1/2 teaspoon vanilla sugar
  • 2 large eggs, cold
  • 1/2 cup flour
  • 2/3 cup almond pieces
  • 2/3 cup coarsely chopped semisweet chocolate pieces

For the instructions and the original recipe click here

The brownies turned out very good. I love them! They are very fudgy. If you like them cakey, this isn’t your recipe. The only thing I’ll make different the next time, is to reduce the sugar some more. I hope this doesn’t affect the consistency.

brownies


Recipe – Chocolate Chip Cookies

Hi there,

For the past week, I’ve been munching away more than 20 Chocolate Chip Cookies. When a friend of mine told me she’ll make some, I felt instantly inspired and had to make some too. I knew that my dad wouldn’t want to eat them, so I only made half the recipe. But still… I had 20+ cookies to eat and I only gave away about three I think. You think that’s selfish? Nah… There aren’t that many people around me to feed. So it took me about a week to finish them all. And they were yummy.

Here you can see pictures of the last cookie vanishing:

cookie


While you watch, I’ll tell you something about the recipe. Because you’ll probably get hungry on the way down…

My Favorite Chocolate Chip Cookie Recipe is the one from my Better Homes and Gardens Cookbook. You can find the recipe here.

This time however, I wanted to have an even more crisper cookie (I love them crispy) and so I decided to alter the original recipe a little bit. I made no changes to the process, only to the ingredients (and I only made half of the recipe). So here are the ingredients exactly as I used them:

  • 1/2 cup butter
  • 1/2 cup granulated sugar
  • 1/4 cup packed brown sugar
  • 1/2 teaspoon baking soda
  • 1 egg
  • 1 teaspoon vanilla
  • 1 1/4 cups all-purpose flour
  • 1 cup semi-sweet chocolate pieces
  • 1 cup chopped almonds

For instructions, follow the link to the original recipe.

What’s your favorite Chocolate Chip Cookie recipe? Please share it with me. I love baking! Thanks 🙂